• Banner 1

    Course Tour

  • Hole 1/10

    Hole 1/10

    The first tee area right next to the clubhouse and putting green.
    Left fairway bunker at the 100 yard marker.
    The first tee area right next to the clubhouse and putting green.
  • Hole 2/11

    Hole 2/11

    The first tee area right next to the clubhouse and putting green.
    Left fairway bunker at the 100 yard marker.
    The first tee area right next to the clubhouse and putting green.
  • Hole 3/12

    Hole 3/12

    There is a narrow approach with water hazards left and right.
    This undulating green will test your skills if you miss long.
  • Hole 4/13

    Hole 4/13

    An elevated tee over a water hazard.
    Any misses to the left leave you with a bunker shot.
  • Hole 5/14

    Hole 5/14

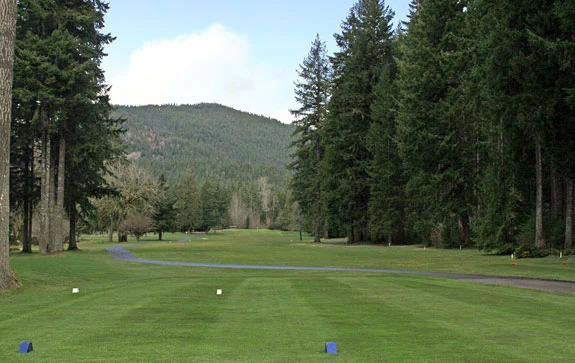
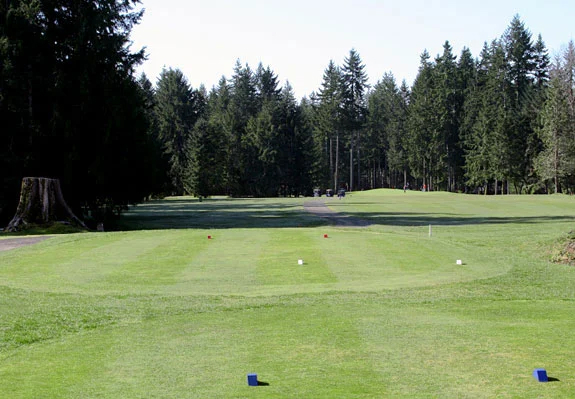
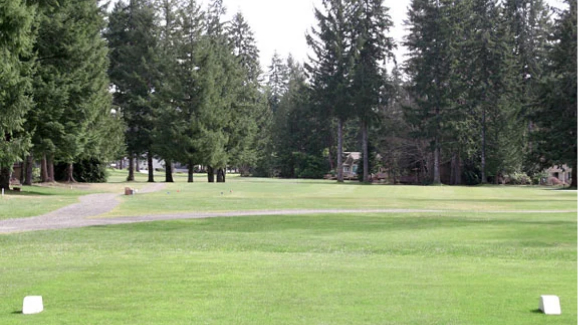
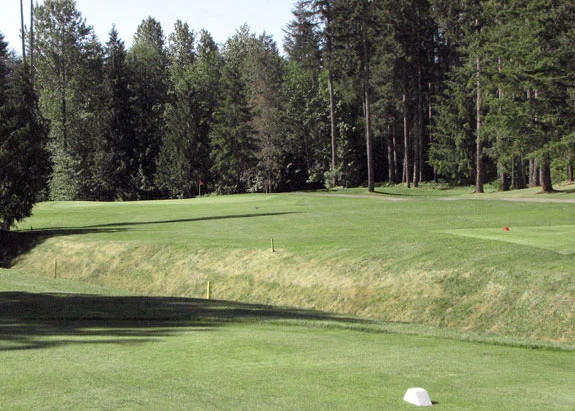
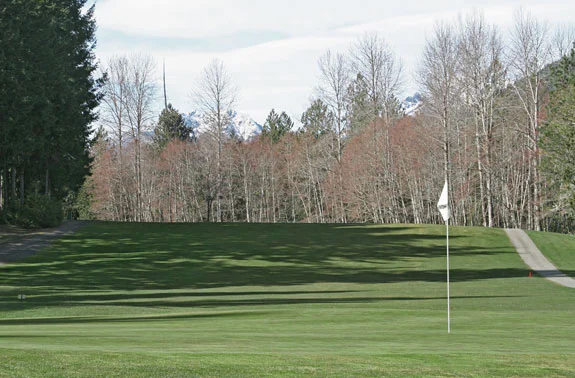
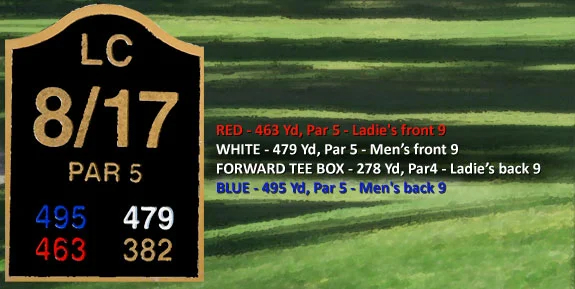
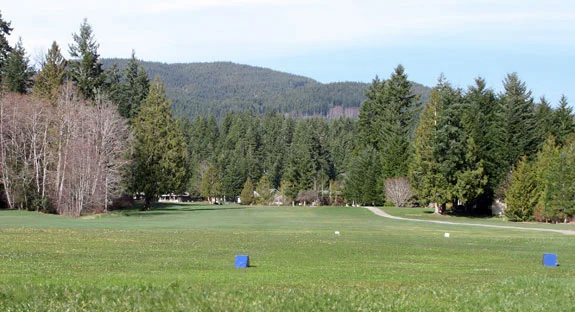
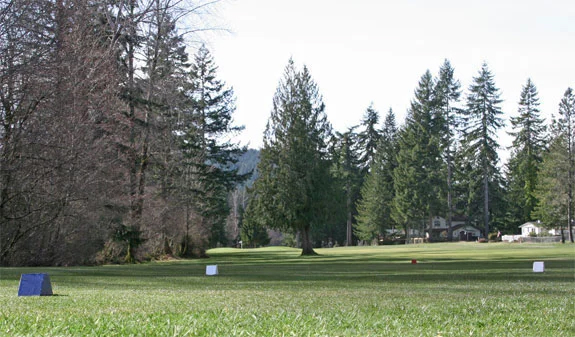
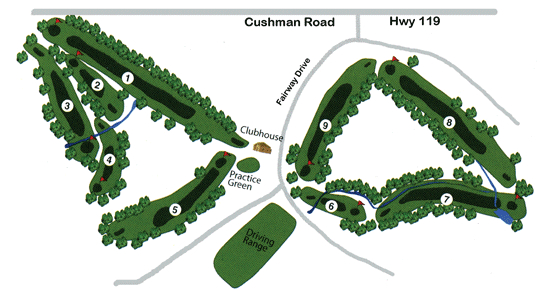
    This dogleg left rewards a nice draw for the right-handed player. From the forward tee box, going over the trees is an enticing option.
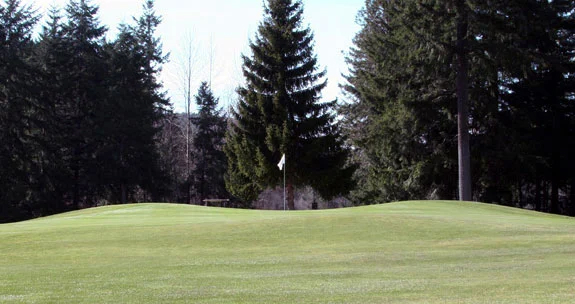
    Laying up to the right of the trees creates a nice approach shot.
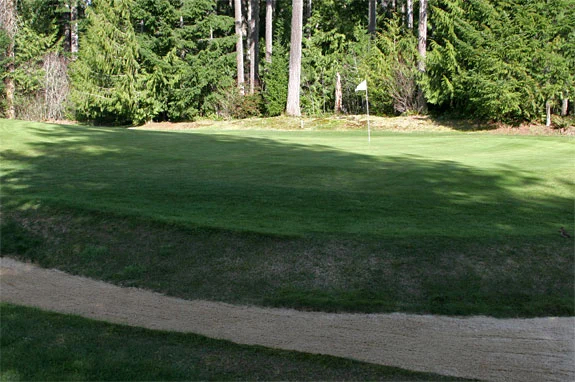
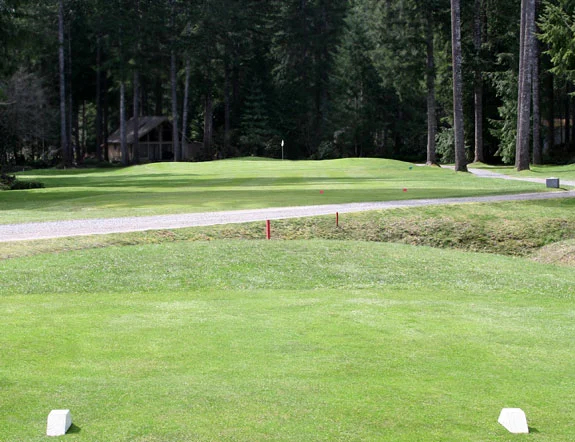
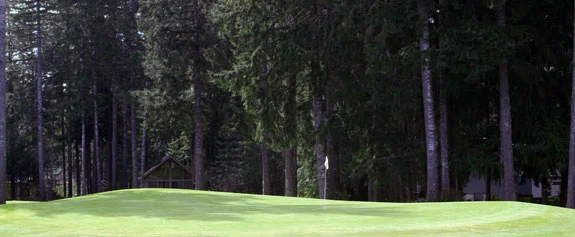
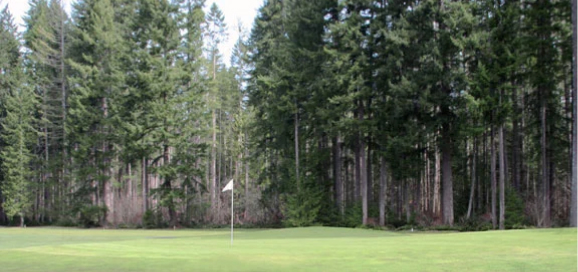
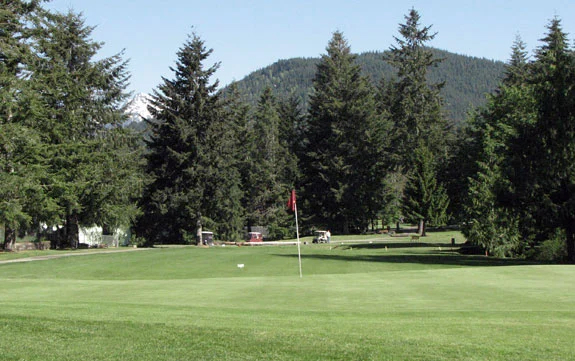
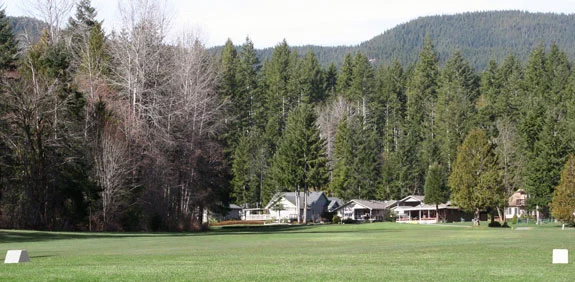
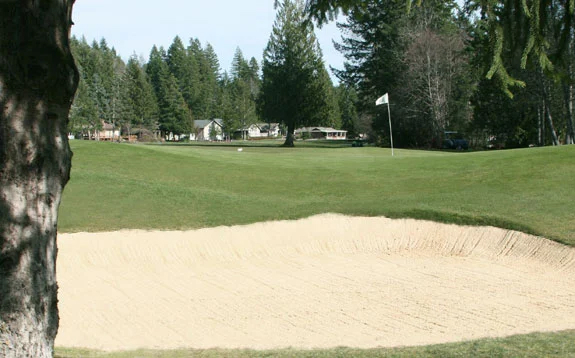
    This hole ends right next to the clubhouse and is perfect timing for a snack or a beverage on your way by.
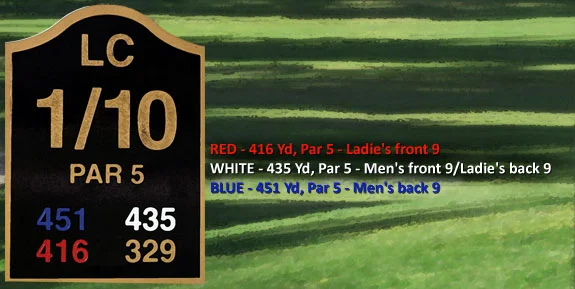
  • Hole 6/15

    Hole 6/15

    There is a hazard that runs the length of the hole to the left.
    Missing this one long or left leaves a tough inclined chip to get back up on top.
  • Hole 7/16

    Hole 7/16

    A very challenging hole in all respects. Landing near the top of the hill leaves you a long downhill shot over a hazard with a lot of water to the right.
    Lay up or go for it?
    This large green can leave some long putts.
    The Olympics from the backside of the green.
  • Hole 8/17

    Hole 8/17

    Here you can rip one straight down the fairway with your driver.
    Forward tee box – Ladie’s back 9 – 278 Yd, Par 4.
    This tiered green tests your reading skills.
  • Hole 9/18

    Hole 9/18

    You can lay up to the right of the tree or test your accuracy to the left.
    This rolling green has hidden break.
    From behind the pin you can see what’s waiting for the shot missed long.
Close